Tag Archives: foot

Another foot failure

The first feet I built for the quad A0 lasted for maybe an hour of walking before snapping off. The current design, has been much more robust – completing a lot of intensive walking and jumping. However, all things must fail:

Looking at the failure, I was surprised I used so little material in the region in question. For now, I just made it 4x thicker and we’ll see how long that lasts, although ultimately it may need to be a different design or machined instead of 3d printed.

Quad feet construction fixture

The quad A1 was the first robot I built with foam cast feet.  When I did the first feet, I jury rigged a fixture from some old toilet paper rolls to hold things in place while they were curing.  When I went to rebuild with my most recent leg geometry, I figured it was time to get at least a little more serious.  Thus, my new leg casting fixture:

dsc_0578

When an insert is cast into place, it is set on one of the trays, the tray is inserted into a slot, and then a weight can be placed on top and constrained by the fixture.

dsc_0579

This makes the casting process more repeatable and faster as I scale up production.  As a bonus, it can also be used as a fixture to epoxy the lower leg to the insert:

dsc_0591

Final lower leg assembly

After casting the feet, the final step was to join the lower leg with the 3d printed foot bracket.  This I just did with some slow cure epoxy.

dsc_0280

It seems strong enough for now, I was able to manually apply 10kg of load to a single leg while perfectly horizontal with no signs of stress, which should be good enough for a 4g 4 legged jump.

All the legs (and a spare) are now assembled with belts and a lower pulley ready to go on a robot!

dsc_0283

Casting feet

Previously, I described the overall plan for my improved foot.  To make that work, I needed to cast a 3d printed part into the squash ball such that it would likely stay attached during operation, be suitable rigid and yet damped, and do so repeatably.

To start with, I used a random single yellow dot squash ball with a hole cut in one side using a pair of side cutters.  For the casting foam, I just used Smooth-On Flex Foam-IT 17, which is what Ben Katz originally used at least.  Initially I just mixed up a batch, poured it in to a random level, stuck my bracket in and hoped for the best.

dsc_0219

Well, something sure happened!  But not exactly what I wanted.  The foam didn’t fill in the interior cavity, nor make a great connection overall with the bracket.  On top of that, the process wouldn’t exactly be described as “repeatable”.  Since I just eyeballed the level of foam, there was no way to get the same amount in.

For my next runs, I decided to do everything by weight.  I tried a few different foam masses, curing orientations, and venting strategies.  Eventually, I got something that seems to look pretty good.  We’ll see how well it works on the actual machine shortly!

Here’s a bunch of different intermediate attempts:

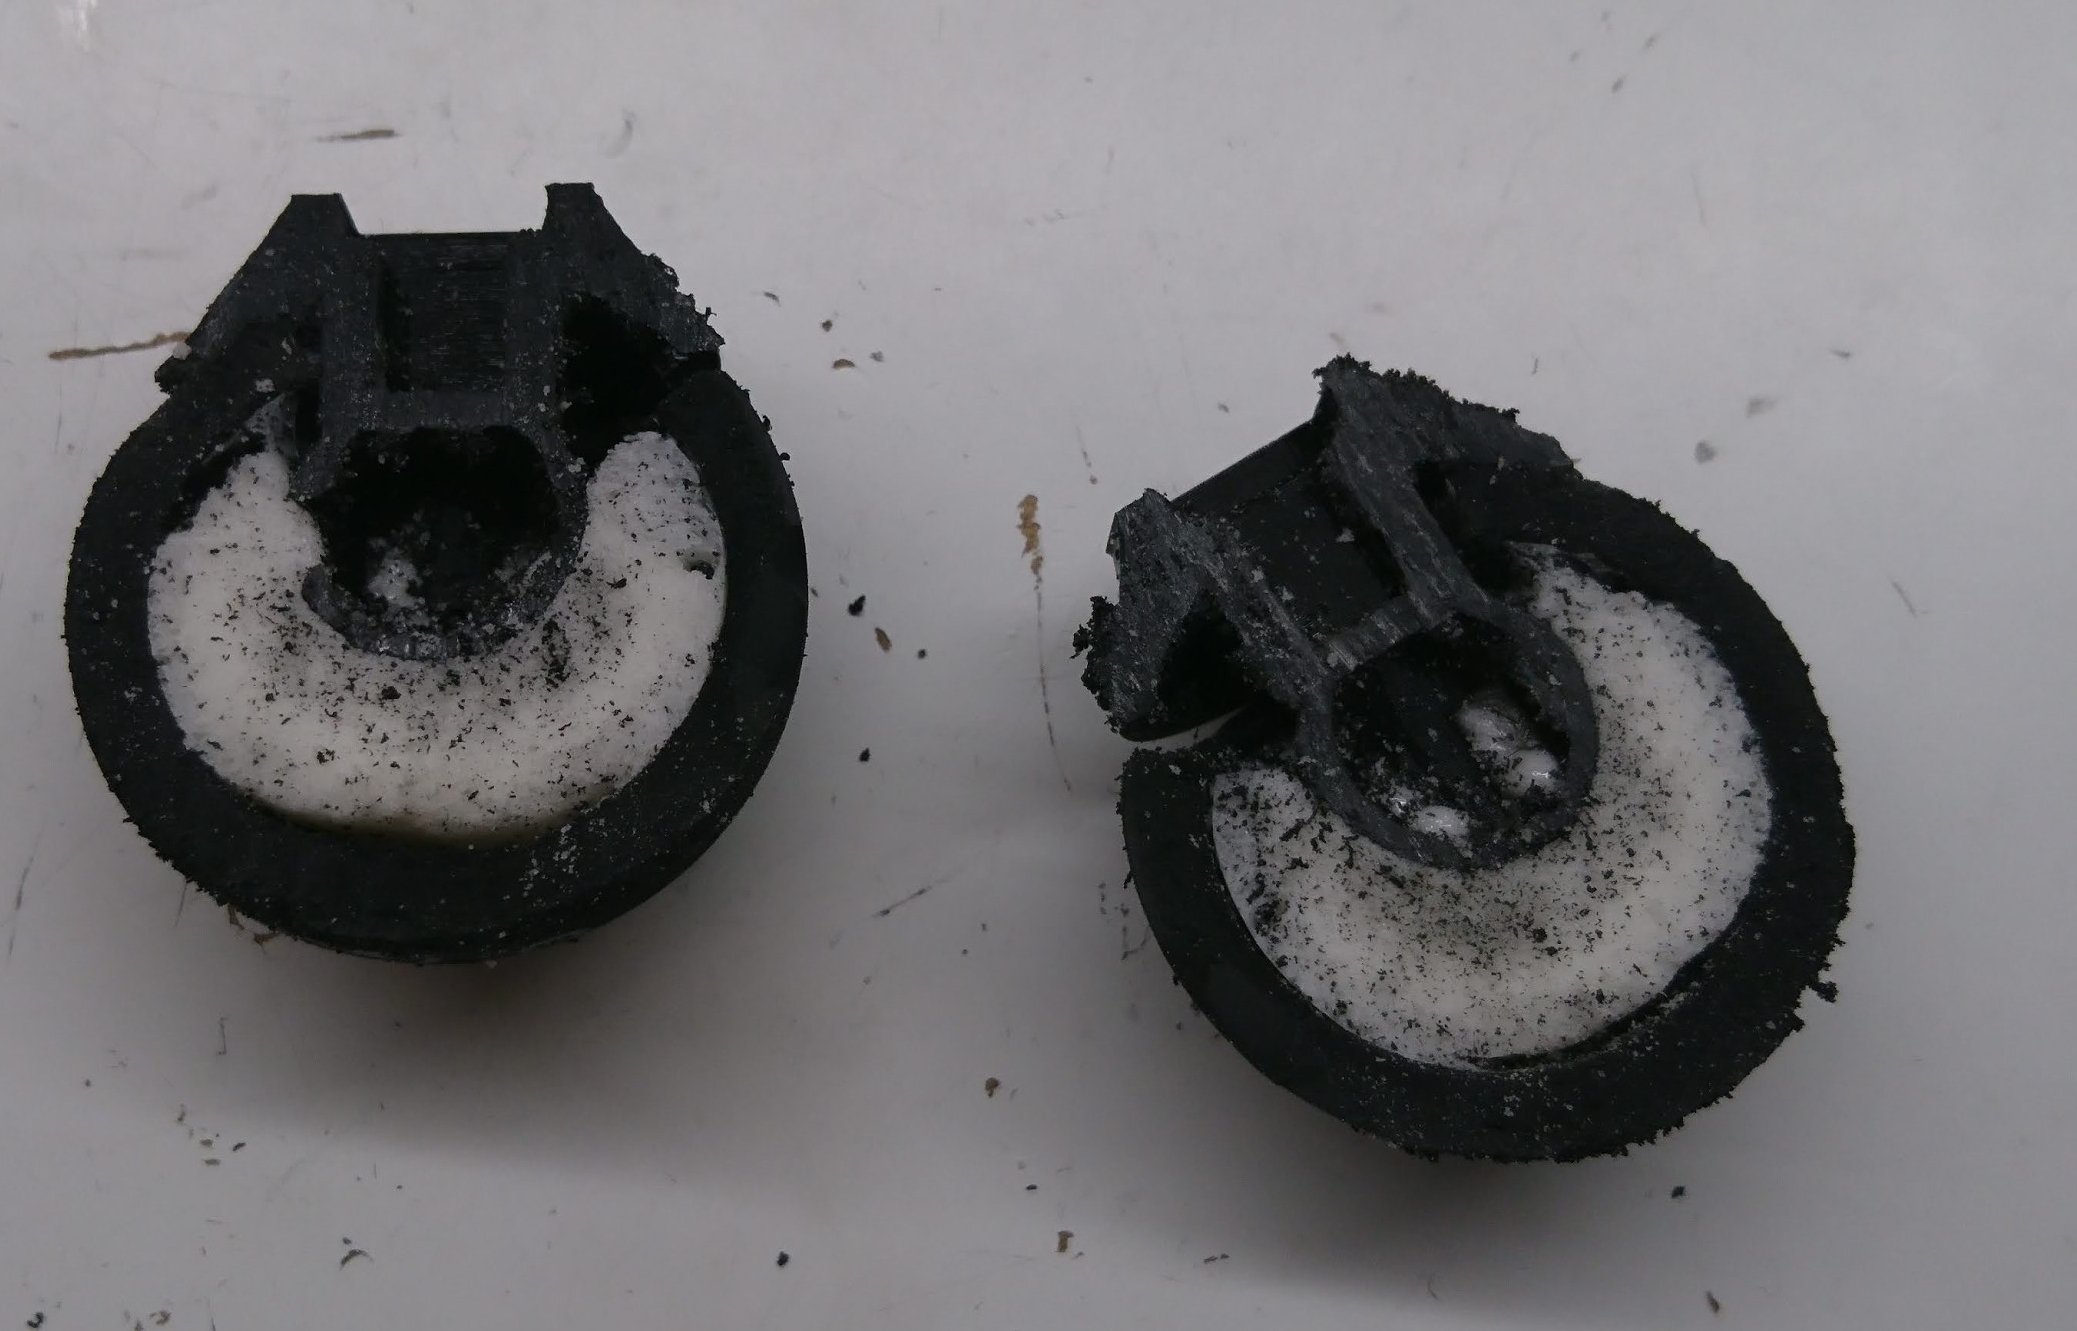
And here’s a cutaway of the process I’ve settled on for now.  This particular one has a slight bit of overfill on one edge that is more than is typical, but the inside fill is pretty good:

dsc_0243


quad A0 – Improved foot design

As mentioned long ago in my post on failing more gracefully, it was obvious I wanted to strengthen the lower leg and foot mechanism to remove the point of failure observed there.  For now, I’m attempting to basically copy the original Mini-Cheetah foot principle, although with more 3d printing and less machining.

20200211-mk2-foot

The basic idea is to print the entire lower leg in a single go laying on its side, so that delamination is unlikely.  The foot bracket will be cast into a squash ball, then epoxied onto the lower leg.

Next up, we’ll see my experiments in casting!